
Deploy apps from Grok - setup guide
This guide shows how to connect AppDeploy to Grok so you can deploy apps from chat and get a live URL back.
Follow the steps below to set it up once, then deploy whenever you’re ready, without leaving Grok.
Note: Using Grok Build in your terminal? Add AppDeploy with a single command - see the CLI setup guide.
Step-by-step Guide
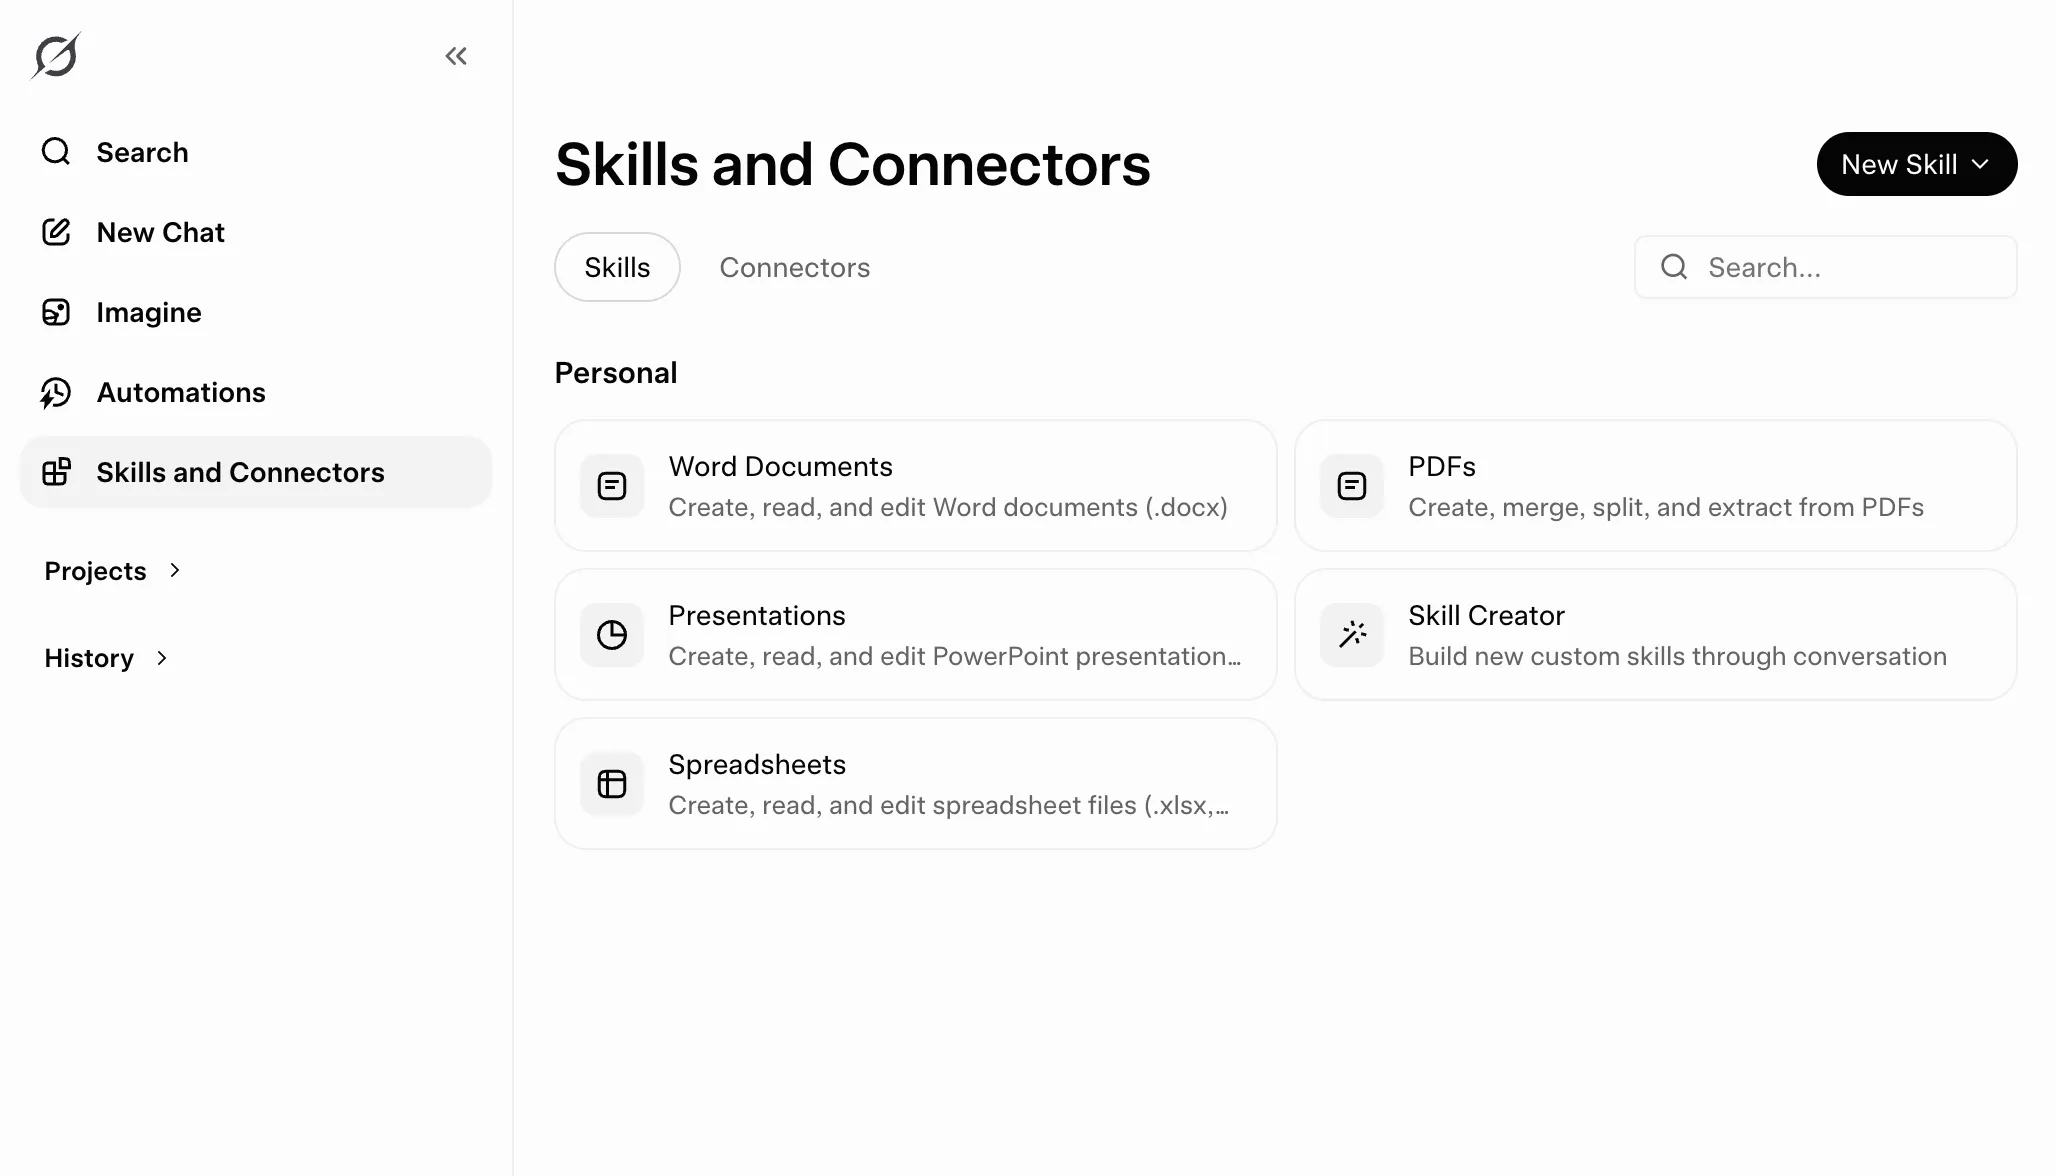
Open Grok, sign in to your Grok account, then click Skills and Connectors in the sidebar.
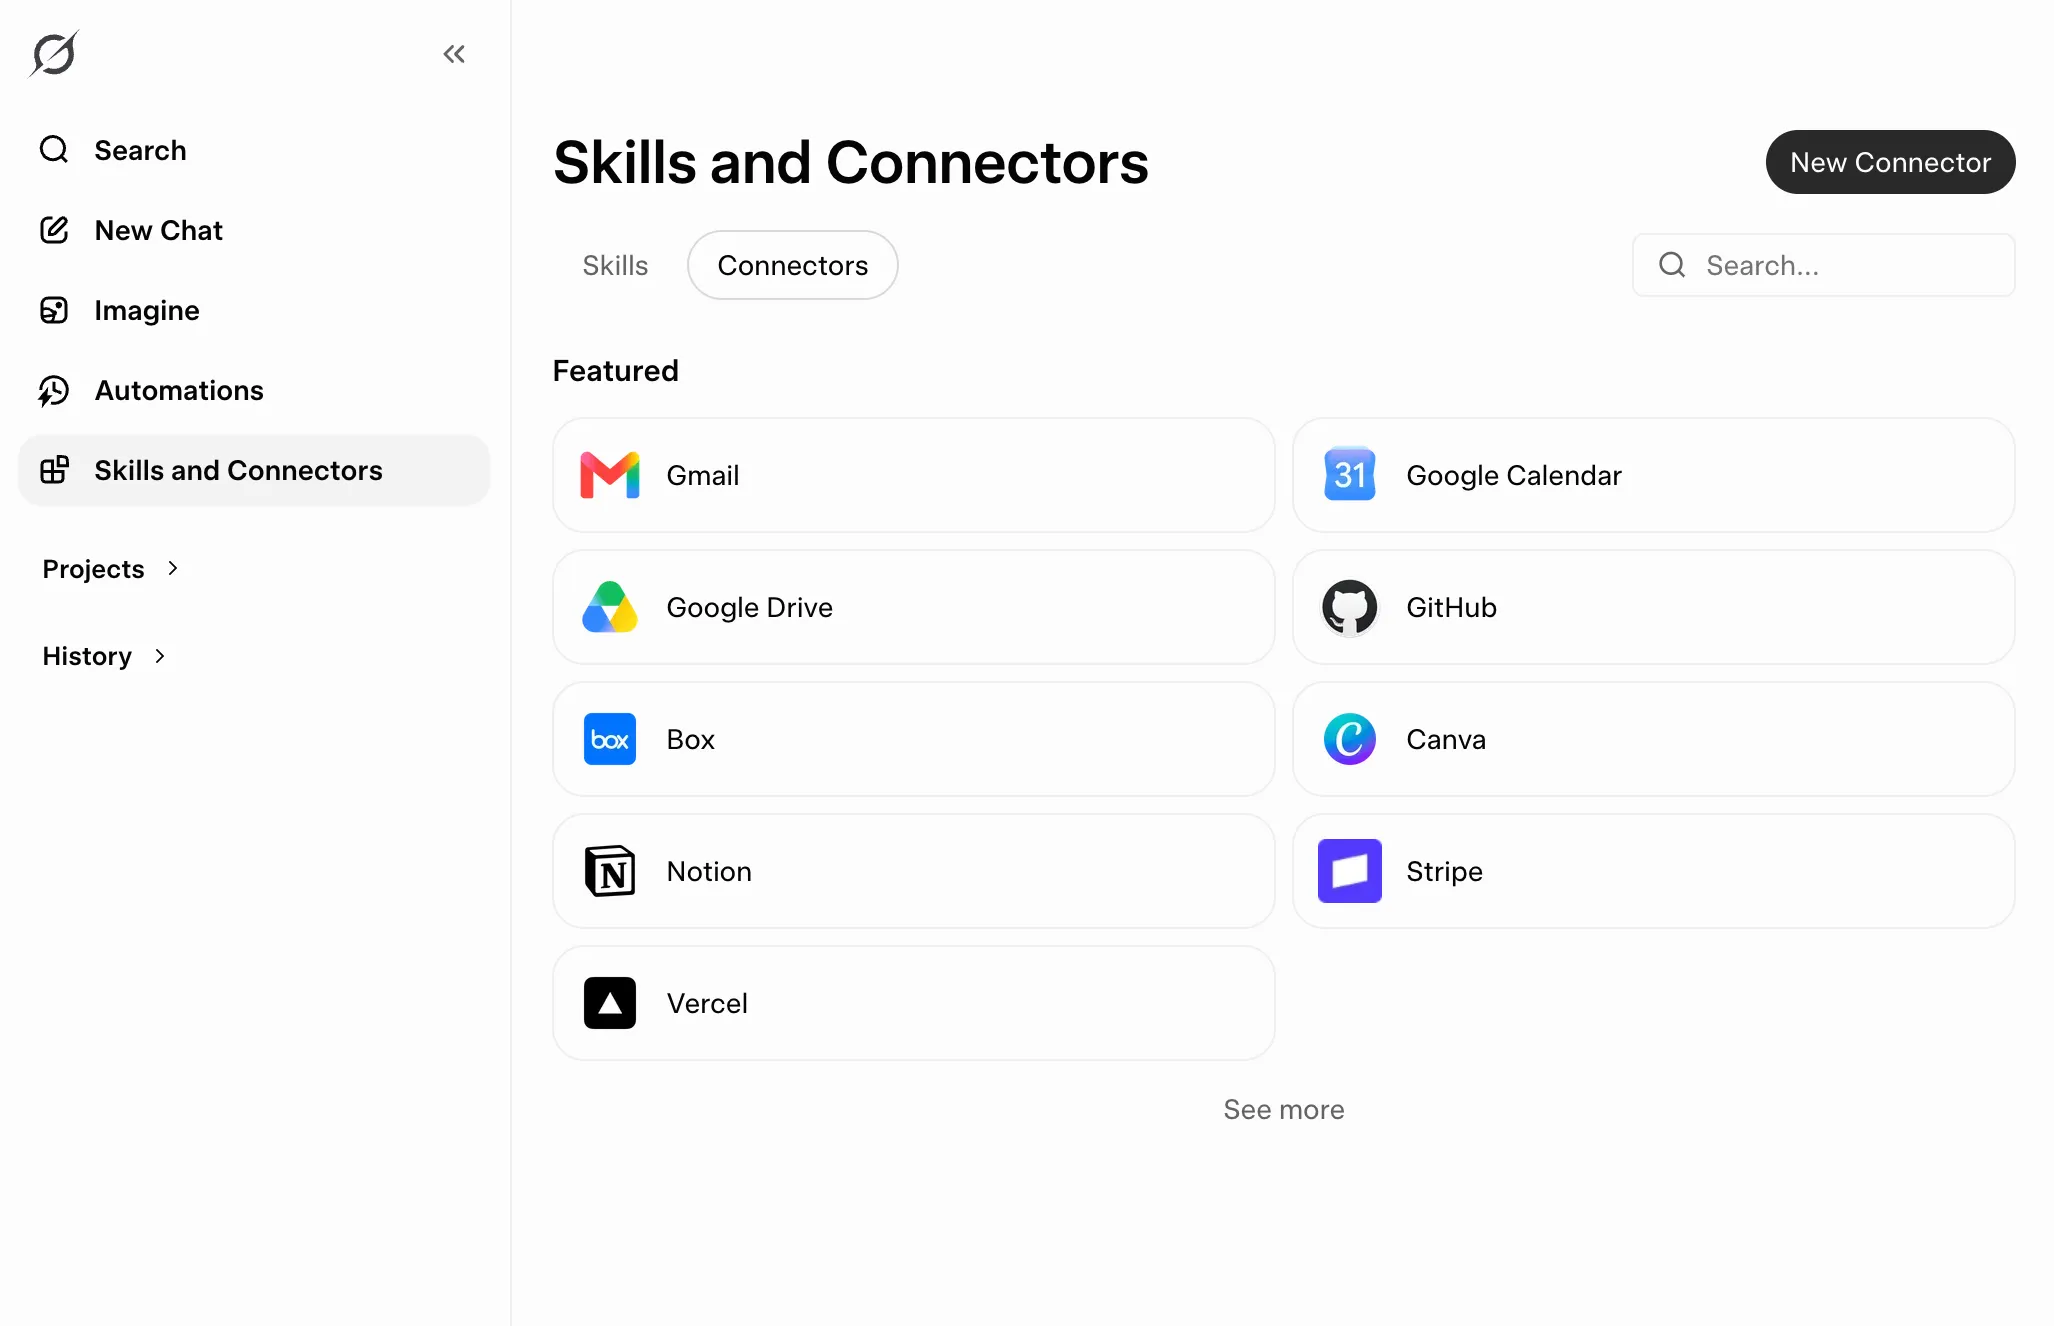
Open the Connectors tab, then click New Connector.
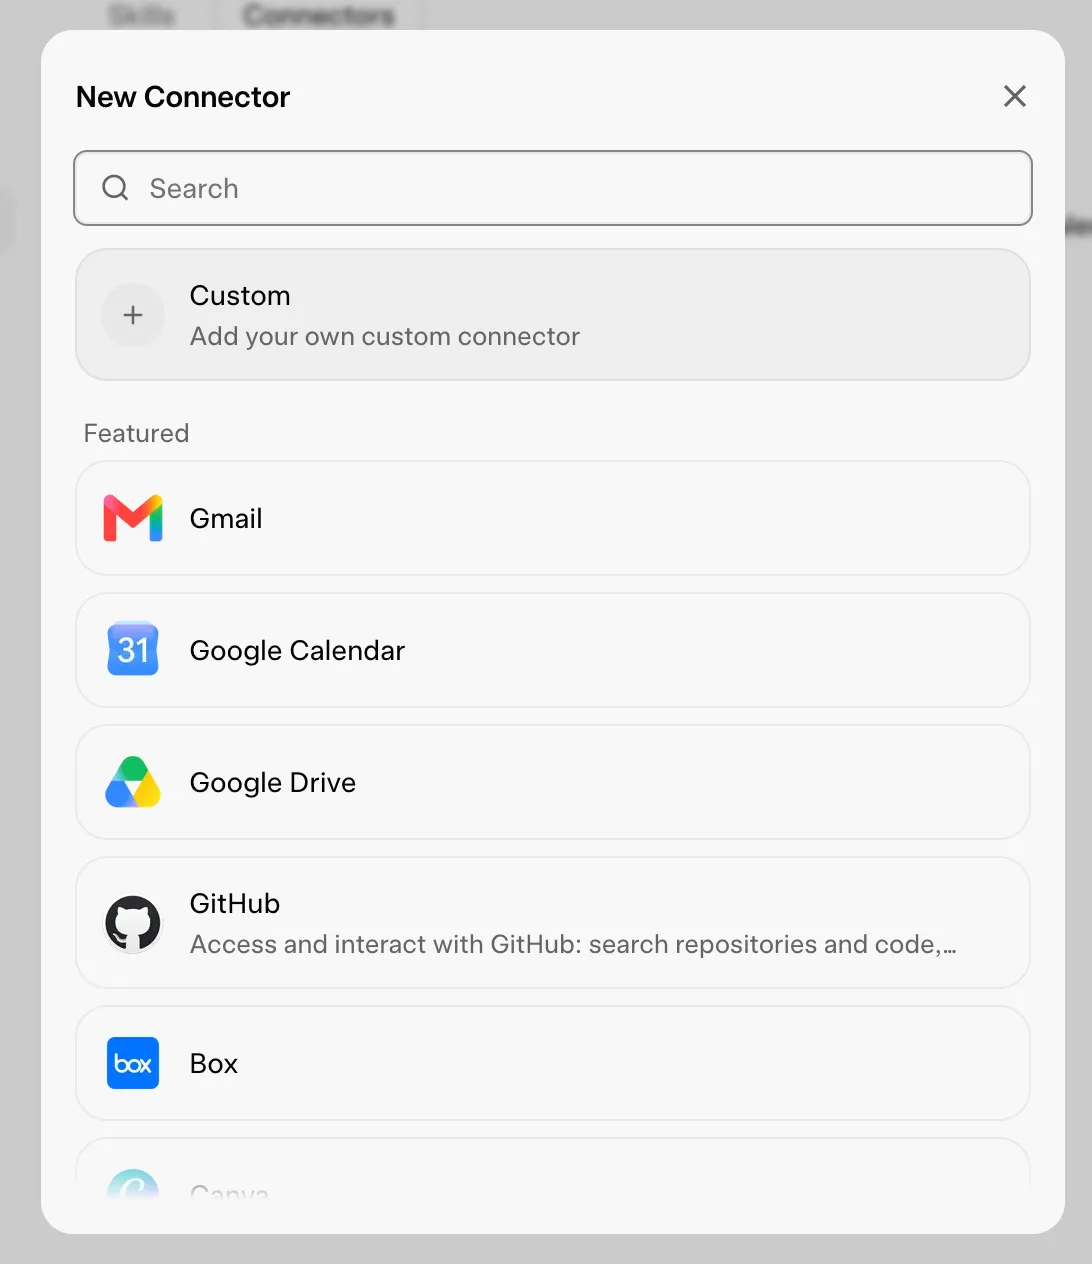
In the New Connector popup, click Custom.
Enter the following and click Add Connector:
Name:
AppDeploy
Server URL:
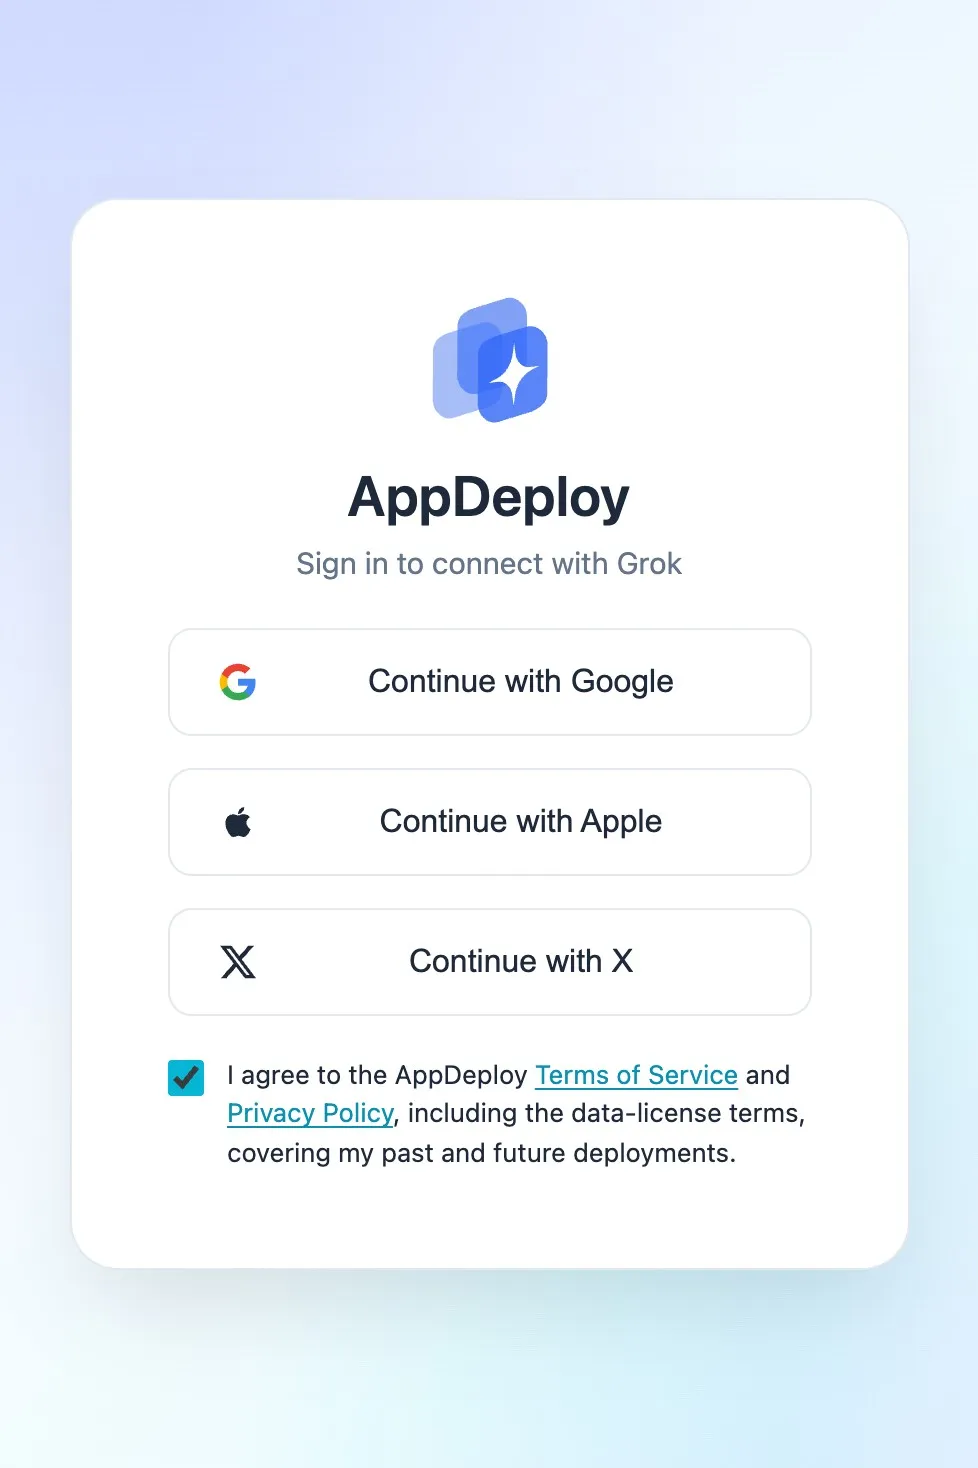
https://api-v2.appdeploy.ai/mcpAn authentication screen will open. Select how you’d like to sign in to AppDeploy: Google, Apple, X, or Email.
That’s it! Click New Chat and you’re all set to deploy your first app.
For example, you can enter the following prompt:
Build a Hello Grok webpage with a global visitor counter, then @AppDeploy
Note: Typing @AppDeploy opens the Connectors menu - select AppDeploy to tag it in the prompt.

Need Help?
If you hit an issue, check our troubleshooting guide or contact us at support@appdeploy.ai.