Deploy apps from Antigravity - setup guide
This guide shows how to connect AppDeploy to Antigravity so you can deploy apps from your agent chat and get a live URL back.
Follow the steps below to set it up once, then deploy whenever you’re ready, without leaving Antigravity.
Important note: This solution relies on a 3rd party tool called mcp-remote since Antigravity doesn’t support OAuth as of now.
Step-by-step Instructions
Open Antigravity (download available here)
Click the 3 dots
…in the Agent pane in the Antigravity IDE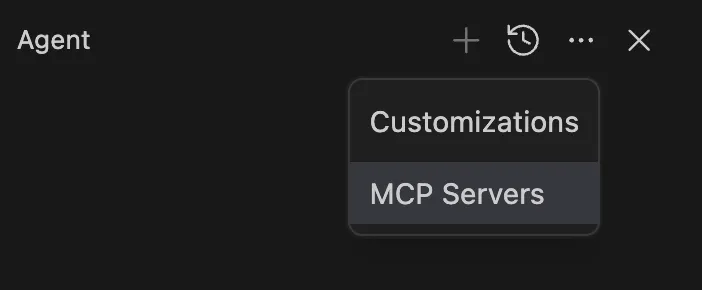
Click on MCP Servers
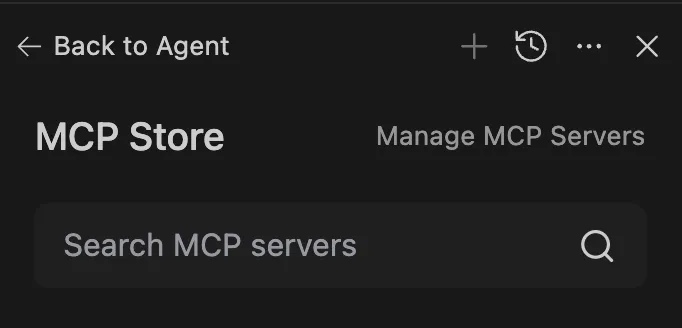
Click the Manage MCP Servers button
Click on View raw config
Copy-paste the below into the raw
mcp_config.jsonand save the file:{ "mcpServers": { "AppDeploy": { "command": "npx", "args": [ "-y", "mcp-remote", "https://api-v2.appdeploy.ai/mcp" ] } } }Click the Refresh button so the new config will go into effect

After a few seconds, an authentication screen will open in your browser. Select how to log in: Google, Apple, X, or Guest.
Setup is done!
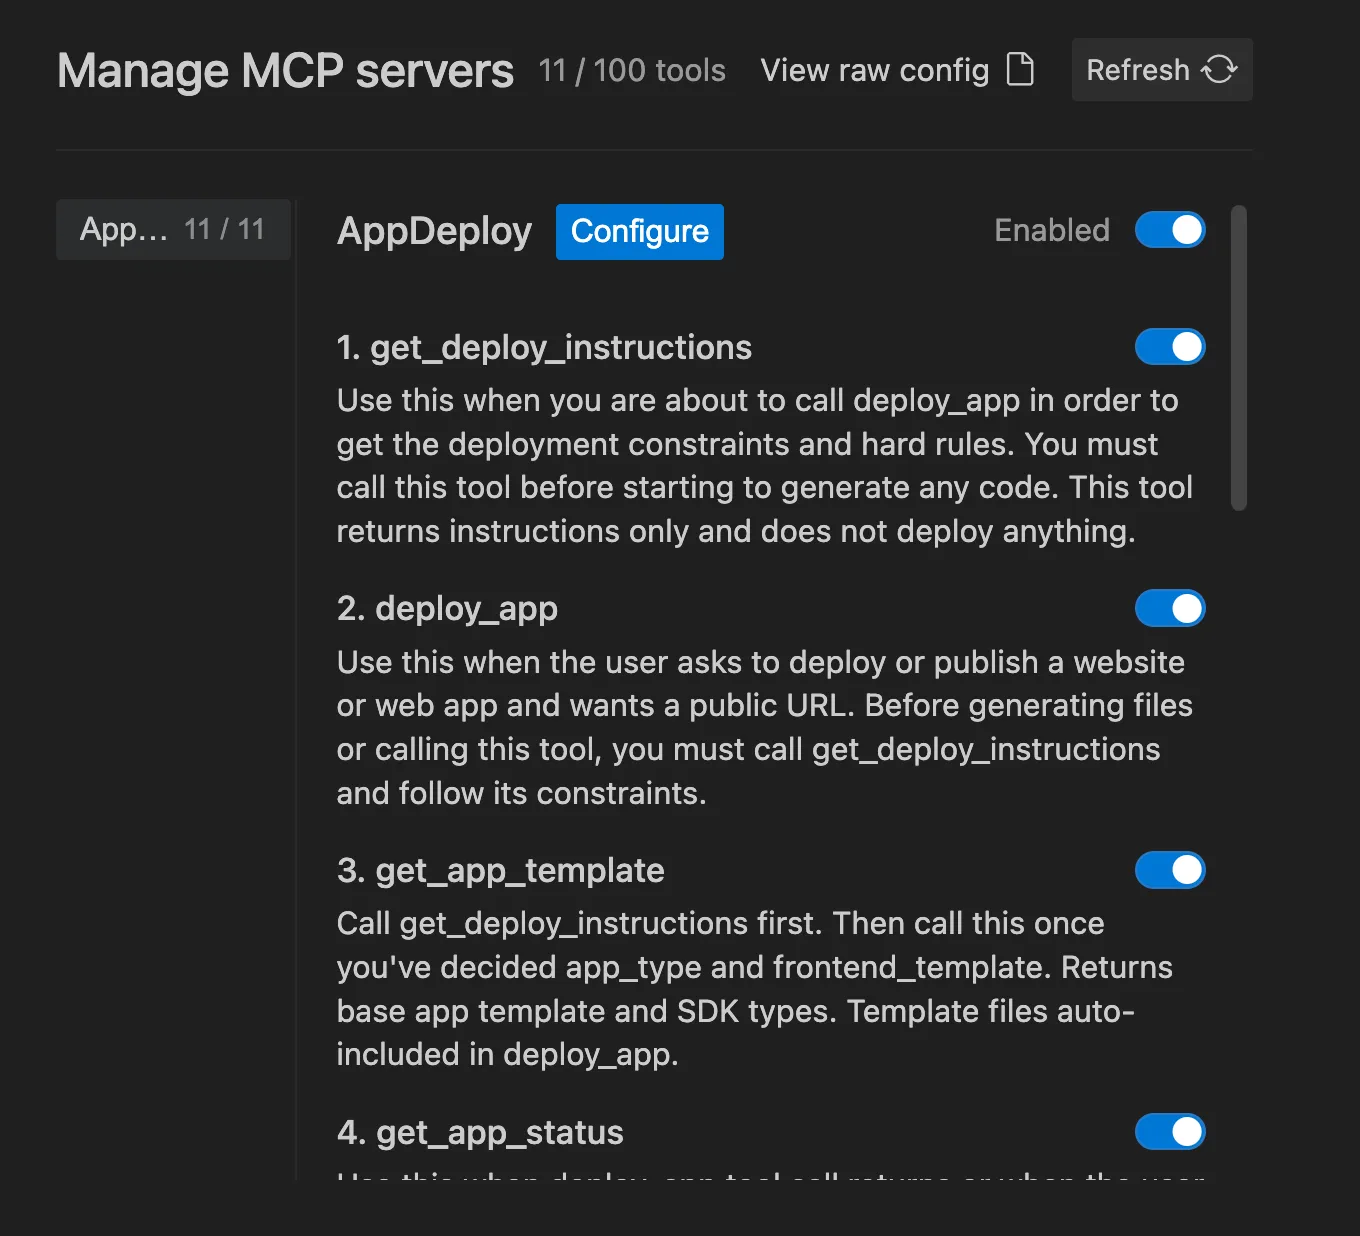
You should see the AppDeploy in the MCP server list:
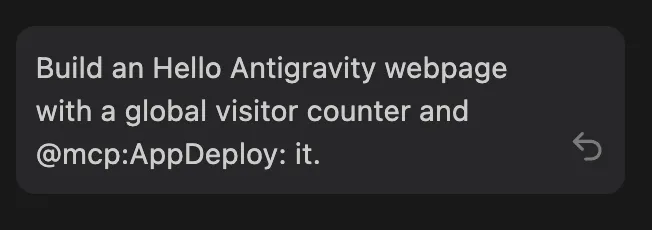
Go to the agent chat and describe your app. For example:
“Build a Hello Antigravity webpage with a global visitor counter and @mcp:AppDeploy: it.”
Need Help?
If you encounter any issues, check our troubleshooting guide or contact us at support@appdeploy.ai.